# cv2_tools
Library to help the drawing process with OpenCV. Thought to add labels to the images. Classification of images, etc.
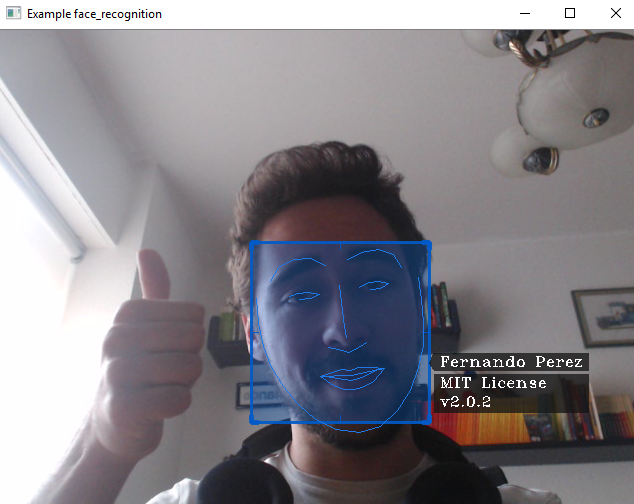
**Image generated with face_recognition and drawed with cv2-tools version 2.0.2**
## Installation
### Pre-requisites
You will need to install:
* opencv >= 3.6.2
* numpy >= 1.13.3
* python-constraint >= 1.4.0
You can simply execute:
`pip install -r requirements.txt`
Finally you can install the library with:
`pip install cv2-tools`
When you install `cv2-tools`, it will automatically download `numpy` but not opencv becouse in some cases you will need another version.
## Test
```
import cv2_tools
print('Name: {}\nVersion:{}\nHelp:{}'.format(cv2_tools.name,cv2_tools.__version__,cv2_tools.help))
webcam_test()
```
## Ussage and Important classes
### ManagerCV2
```
from cv2_tools.Management import ManagerCV2
```
If you want to work with video or stream, this class will help you mantain your code cleaner while you get more features.
For example:
- Open a a stream (your webcam).
- Reproduce it on real time with max FPS equals to 24.
- Press `esc` to finish the program.
- At the end print average FPS.
```
from cv2_tools.Managment import ManagerCV2
import cv2
# keystroke=27 is the button `esc`
manager_cv2 = ManagerCV2(cv2.VideoCapture(0), is_stream=True, keystroke=27, wait_key=1, fps_limit=60)
# This for will manage file descriptor for you
for frame in manager_cv2:
cv2.imshow('Example easy manager', frame)
cv2.destroyAllWindows()
print(manager_cv2.get_fps())
```
If you want to use another button and you don't know the ID, you can check easily using the following code:
```
from cv2_tools.Managment import ManagerCV2
import cv2
# keystroke=27 is the button `esc`
manager_cv2 = ManagerCV2(cv2.VideoCapture(0), is_stream=True, keystroke=27, wait_key=1, fps_limit=60)
# This for will manage file descriptor for you
for frame in manager_cv2:
# Each time you press a button, you will get its id in your terminal
last_keystroke = manager_cv2.get_last_keystroke()
if last_keystroke != -1:
print(last_keystroke)
cv2.imshow('Easy button checker', frame)
cv2.destroyAllWindows()
```
### SelectorCV2
Firstly create a SelectorCV2 object. You can pass it optional parameters to configure the output.
```
from cv2_tools.Selection import SelectorCV2
selector = SelectorCV2(color=(200,90,0), filled=True)
```
Also you can configure it later using the method (all optional parameters):
```
selector.set_properties()
```
Now, each time you want to add a selected zone call the method:
```
"""
Coordinates:
(x1,y1)____(x2,y1)
| |
| |
(x1,y2)____(x2,y2)
Tags (optional parameter):
* It could be a normal string
* A string with '\n'
* A list of strings
* None / '' / [] / False
"""
selector.add_zone((x1,y1,x2,y2),tags=tag)
```
Finally, when you want to draw all the rectangles execute:
```
edited_frame = selector.draw(frame)
```
If you want to use the same object multiple times you can easily change the content inside it:
```
# This method could help change rectangles to
selector.set_range_valid_rectangles( origin, destination)
# This method could help if you know exactly the indexes that you want to keep
# Default = [], so if you just want to clean the buffer call this method without parameters
set_valid_rectangles(indexes)
```
If you want, you can see the example [detect_faces.py](examples/detect_faces.py), it also use an open source library called `face_recognition`.


