# chatgpt-prompt-wrapper
[](https://github.com/rcmdnk/chatgpt-prompt-wrapper/actions/workflows/test.yml)
[](https://github.com/rcmdnk/chatgpt-prompt-wrapper/tree/coverage)
Python CLI implementation for [ChatGPT](https://openai.com/blog/chatgpt).
## Requirements
- Python 3.9, 3.10, 3.11
## Installation
By Homebrew:
```
$ brew install rcmdnk/rcmdnkpac/chatgpt-prompt-wrapper
```
By pip:
```
$ pip3 install chatgpt-prompt-wrapper
```
## Preparation
To get an OpenAI API key, go to [Account API Keys - OpenAI API](https://platform.openai.com/account/api-keys).
Set it as the environment variable `OPENAI_API_KEY`.
To load the variable when you start the terminal, write it in **.bashrc** or **.zshrc**.
```
export OPENAI_API_KEY="sk-..."
```
Alternatively, pass the key using the '-k' or '--key' argument in the command.
## Usage
### Command-line interface Help
```
$ cg help
usage: cg [-h] [-k KEY] [-c CONF] [-m MODEL] [-t MAX_TOKENS] [-T MIN_MAX_TOKENS] [-l TOKENS_LIMIT] [--show] [--hide] [--multiline]
[--no_multiline] [--vi] [--emacs] [--show_cost]
subcommand [message ...]
positional arguments:
subcommand Subcommand to run. Use 'commands' subcommand to list up available subcommands.
message Message to send to ChatGPT
optional arguments:
-h, --help show this help message and exit
-k KEY, --key KEY OpenAI API key.
-c CONF, --conf CONF Path to the configuration toml file.
-m MODEL, --model MODEL
ChatGPT Model to use.
-t MAX_TOKENS, --max_tokens MAX_TOKENS
The maximum number of tokens to generate in the chat completion. Set 0 to use the max values for the model
minus prompt tokens.
-T MIN_MAX_TOKENS, --min_max_tokens MIN_MAX_TOKENS
The minimum of max_tokens for the completion when max_tokens = 0.
-l TOKENS_LIMIT, --tokens_limit TOKENS_LIMIT
The limit of the total tokens of the prompt and the completion. Set 0 to use the max values for the model.
--show Show prompt for ask command.
--hide Hide prompt for ask command.
--multiline Use multiline input for chat command.
--no_multiline Use single line input for chat command.
--vi Use vi mode at chat.
--emacs Use emacs mode at chat.
--show_cost Show cost used.
```
```
$ cg commands
Available subcommands:
Reserved commands:
ask : Ask w/o predefined prompt.
chat : Start chat w/o predefined prompt.
discuss : Start a discussion between GPTs. Give a them as a message.
init : Initialize config file with an example command.
cost : Show estimated cost used until now.
commands : List up subcommands (show this).
version : Show version.
help : Show help.
User commands:
test : Example command to test the OpenAI API.
...
```
### Ask, Chat
`ask` and `chat` are reserved commands for running simple interaction without a predefined prompt.
- `ask`
`cg ask <message>` returns the answer from ChatGPT for `message`.
- `chat`
`cg chat` starts a chat.
:memo: In `chat` mode, all messages in the past, including answers from
ChatGPT, will be sent each time you send a new message.
The oldest message will be dropped when the total tokens (including the reserved tokens for the completion defined by `max_tokens` or `min_max_tokens`) exceeds the tokens limit (`tokens_limit` or the number of max tokens (-1) for the used model).
It means you will send almost the max length after a long conversation.
Please keep the cost in mind. You may want to set `tokens_limit`.
### Discuss
`discuss` is another reserved command which start a discussion between two ChatGPTs.
Two GPTs are ask to perform as:
- Please engage in the discussion as a supporter.
- Please engage in the discussion as a opponent.
You input message will be a message and they start a discussion.
Please push `Enter` to proceed a duscussion and `Ctrl-C` to quit a discussion.
### Configuration file
You can define your command in the configuration files.
A command can be in either `ask` mode, `chat` mode or `discuss` mode.
- `ask` mode: Send a predefined prompt and a message from the command line and receive one answer.
- `chat` mode: Start a chat with a predefined prompt if defined:
- `chat` mode can be either `multiline` or single (`no_multiline`), and `vim` or `emacs`.
- `discuss` mode: Start a discussion between two different ChatGPTs.
#### File path
The default path to the configuration file is **$XDG_CONFIG_HOME/cg/config.toml**.
If **$XDG_CONFIG_HOME** is not defined, use **~/.config/cg/config.toml**.
If it does not exist and **~/.cg/config.toml** exists,
the existing file is used.
You can change the path by `-c <file>` (`--conf <file>`) option.
#### How to write the configuration file
The configuration file is written in the [TOML format](https://toml.io/en/).
You can define a command as the top table name.
`global` is the special table to define global options,
which are enabled for all commands if the command does not have the corresponding options.
The options for each table can be:
- `description`: Description of the command.
- `mode`: Set `ask`, `chat` or `discuss`. (default is `ask` mode.)
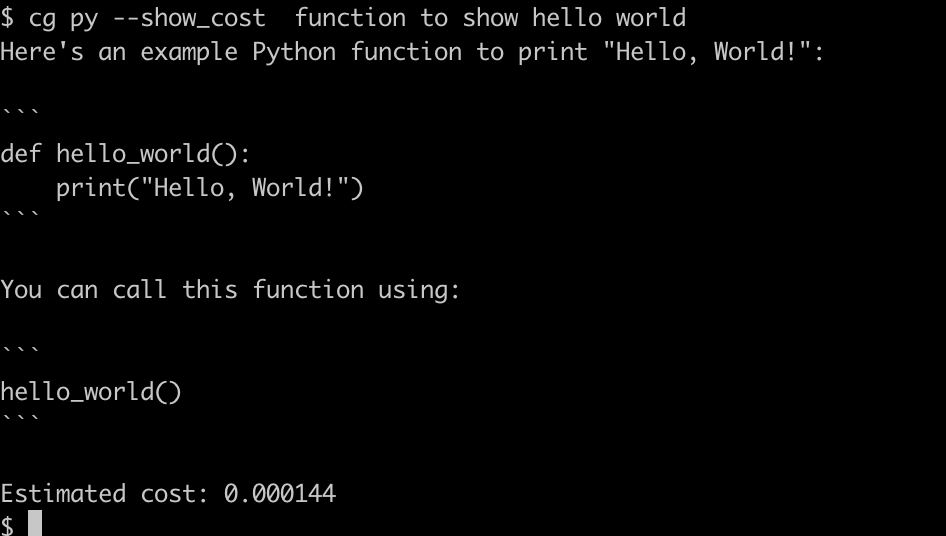
- `show_cost`: Set `true` to show the cost at the end of the command.
- `model`: The model to use (default: "gpt-3.5-turbo").
- `max_tokens`: The maximum number of tokens to generate in the chat completion. Set 0 to use the maximum values for the model. (default: 0)
- `min_max_tokens`: The minimum of `max_tokens` for the completion when `max_tokens = 0`. (default: 200)
- `tokens_limit`: The limit of the total tokens of the prompt and the completion. Set 0 to use the maximum values for the model. (default: 0)
- `temperature`: Sampling temperature (0 ~ 2). (default: 1)
- `top_p`: Probability (0 ~ 1) that the model will consider the top_p tokens. Do not set both temperature and top_p at the same time. (default: 1)
- `presence_penalty`: The penalty for the model to return the same token (-2 ~ 2). (default: 0)
- `frequency_penalty`: The penalty for the model to return the same token multiple times (-2 ~ 2). (default: 0)
- Table of `alias`: Dictionary of role aliases. The default alias is: '`user' = 'User'`, `'system' = 'System'`, `'assistant' = 'Assistant'`.
- List of `messages`: Dictionary of message, which must have `role` and `content` (message text).
- For `ask`, `chat` modes, `role` must be one of `system`, `user` and `assistant`
- For `discuss` mode, three roles, `theme`, `gpt1` and `gpt2` are needed.
The options for ask mode:
- `show`: Set `true` to show prompt for non chat command.
- `hide`: Set `true` to hide prompt for non chat command (default).
The options for chat mode:
- `multiline`: Set `true` to hide prompt for non chat command.
- `no_multiline`: Set `true` to hide prompt for non chat command (default).
- `vi`: Set `true` to use vi mode.
- `emacs`: Set `true` to use emacs mode (default).
You can make a example configuration file by `cg init`.
Here is a example configuration:
```toml
[global]
# Global configuration
# `global` is special name and not a subcommand
model = 'gpt-3.5-turbo'
[test]
# Example command to test the OpenAI API, taken from below.
# [Chat completion - OpenAI API](https://platform.openai.com/docs/guides/chat/introduction)
description = "Example command to test the OpenAI API."
show = true
[[test.messages]]
role = "system"
content = "You are a helpful assistant."
[[test.messages]]
role = "user"
content = "Who won the world series in 2020?"
[[test.messages]]
role = "assistant"
"content" = "The Los Angeles Dodgers won the World Series in 2020."
[[test.messages]]
role = "user"
content = "Where was it played?"
[sh]
description = "Ask a shell scripting question."
[[sh.messages]]
role = "user"
content = "You are an expert of the shell scripting. Answer the following questions."
[py]
description = "Ask a python programming question."
[[py.messages]]
role = "user"
content = "You are an expert python programmer. Answer the following questions."
[enjoy_chat]
description = "Chat example with a predefined prompt."
mode = 'chat'
[[chat.messages]]
role = "user"
content = "Let's enjoy a chat."
[dd]
mode = 'discuss'
[dd.names]
gpt1 = "pros"
gpt2 = "cons"
[[dd.messages]]
role = "theme"
content = "Discuss whether or not to actively adopt ChatGPT in the education field. Please provide one-sentence responses."
[[dd.messages]]
role = "gpt1"
content = "Please speak from the standpoint that you should actively adopt ChatGPT in the field of education."
[[dd.messages]]
role = "gpt2"
content = "Please speak from the standpoint that you should not actively adopt ChatGPT in the field of education."
```
These messages will be sent as an prompt before your input message.
You can give full questions and use `cg` w/o input messages like a first example `test` command.
Command examples:
- test

- sh
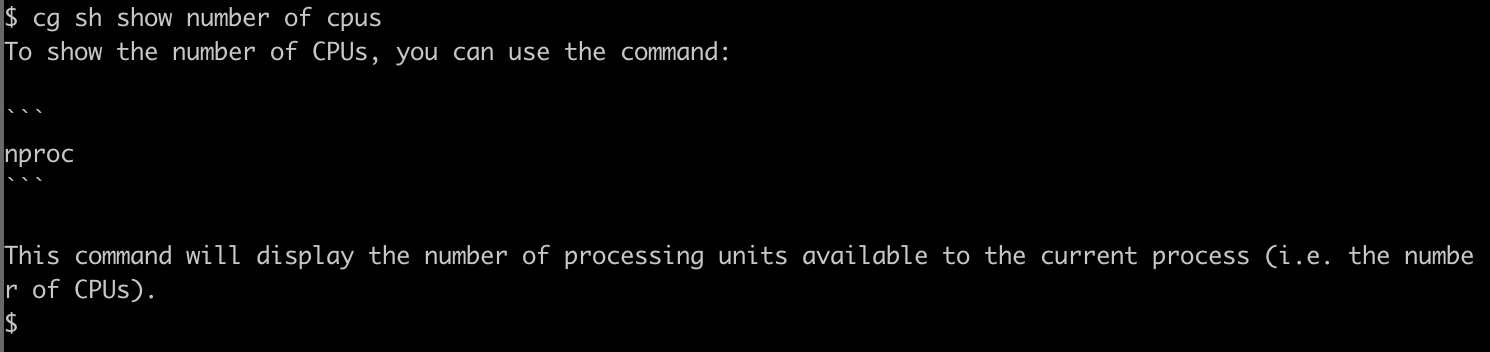
- py
- enjoy_chat

## Example usage as a part of an external script
### Git commit by ChatGPT
See [git-gpt-commit](https://github.com/rcmdnk/git-gpt-commit).
## Development
### Poetry
Use [Poetry](https://python-poetry.org/) to setup environment.
To install poetry, run:
```
$ pip install poetry
```
or use `pipx` (`x` is `3` or anything of your python version).
Setup poetry environment:
```
$ poetry install
```
Then enter the environment:
```
$ poetry shell
```
## pre-commit
To check codes at the commit, use [pre-commit](https://pre-commit.com/).
`pre-commit` command will be installed in the poetry environment.
First, run:
```
$ pre-commit install
```
Then `pre-commit` will be run at the commit.
Sometimes, you may want to skip the check. In that case, run:
```
$ git commit --no-verify
```
You can run `pre-commit` on entire repository manually:
```
$ pre-commit run -a
```
### pytest
Tests are written with [pytest](https://docs.pytest.org/).
Write tests in **/tests** directory.
To run tests, run:
```
$ pytest
```
The default setting runs tests in parallel with `-n auto`.
If you run tests in serial, run:
```
$ pytest -n 0
```
## GitHub Actions
If you push a repository to GitHub, GitHub Actions will run a test job
by [GitHub Actions](https://github.co.jp/features/actions).
The job runs at the Pull Request, too.
It checks codes with `pre-commit` and runs tests with `pytest`.
It also makes a test coverage report and uploads it to [the coverage branch](https://github.com/rcmdnk/chatgpt-prompt-wrapper/tree/coverage).
You can see the test status as a badge in the README.
### Renovate
If you want to update dependencies automatically, [install Renovate into your repository](https://docs.renovatebot.com/getting-started/installing-onboarding/).


